
Quickstart
From an empty prim to your first sale in about ten minutes. No scripting, no notecards to fill in.
What you need
- The Fasty Vendor kit. It has the two scripts you need today:
Fasty HubandFasty Vendor(in your inventory their names end with the version, likeFasty Hub v1.0). Press Get the kit on the panel's welcome screen (or in the menu under your picture) and it arrives in your SL inventory. See The Script Kit. - A parcel where you can rez objects and run scripts.
- At least one product with copy permission for you. The hub hands out copies, so an item you cannot copy cannot be sold.
Step 1: the hub
The hub is the box that holds your products and gives them to your customers.
Rez a prim in your store. Any shape and size. Give it a name you will recognise, like
My Store Hub.Drop the
Fasty Hubscript into it (right-click → Edit → Content). The hub connects to Fasty by itself, and your store is created right there.Drag your product items into the hub's Content. Many at once is fine. Every item becomes a product in your panel, named after the item. You do not need to press anything: the hub sends the new items on its own.
(Optional) Add a texture with the same name as an item. That texture becomes the product picture in the panel and on your vendors.
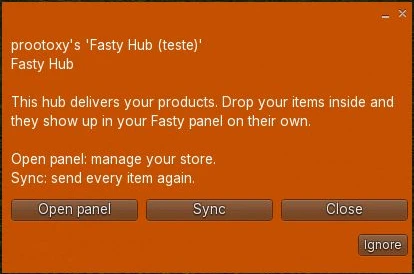
Items must be copyable
If an item is not copyable for you, the panel warns you with a "no copy permission" notice and that product cannot be delivered until you fix the permission.
Step 2: your account
You manage everything from the panel, a website at app.fastyvendor.com. It works on a computer and on a phone.
Touch the hub and choose
Open panel, or go to the panel yourself and click Create account.Type your Second Life username. Fasty sends you a link by IM inside Second Life. Open it and choose a password. From then on you sign in with your username and password, from any browser.
Follow the welcome assistant. It asks your store name and offers the extras (bringing your history from CasperVend or Allomancy, Marketplace sales). Every step can be skipped and done later.
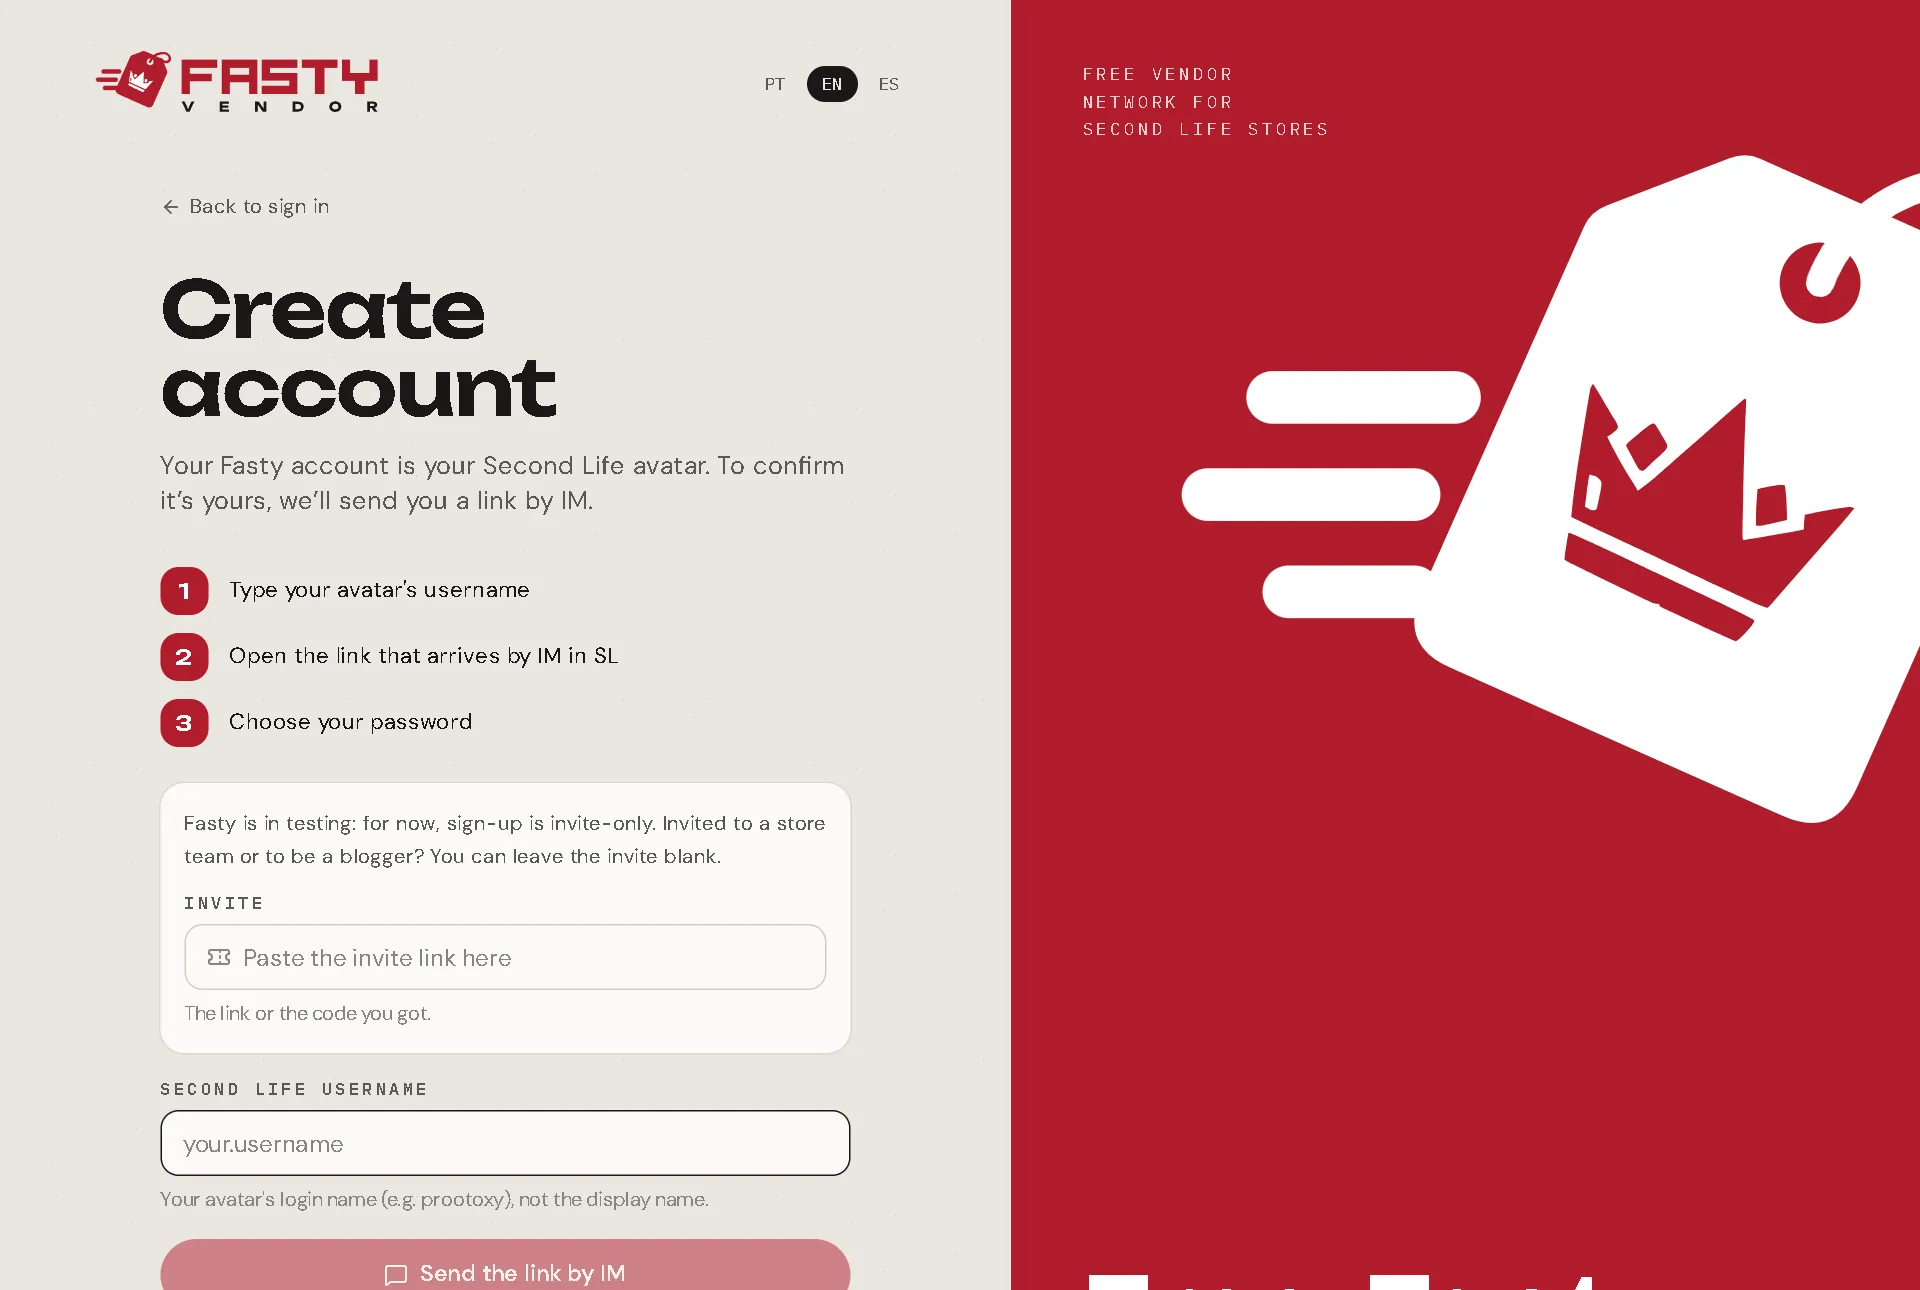
Step 3: check your products
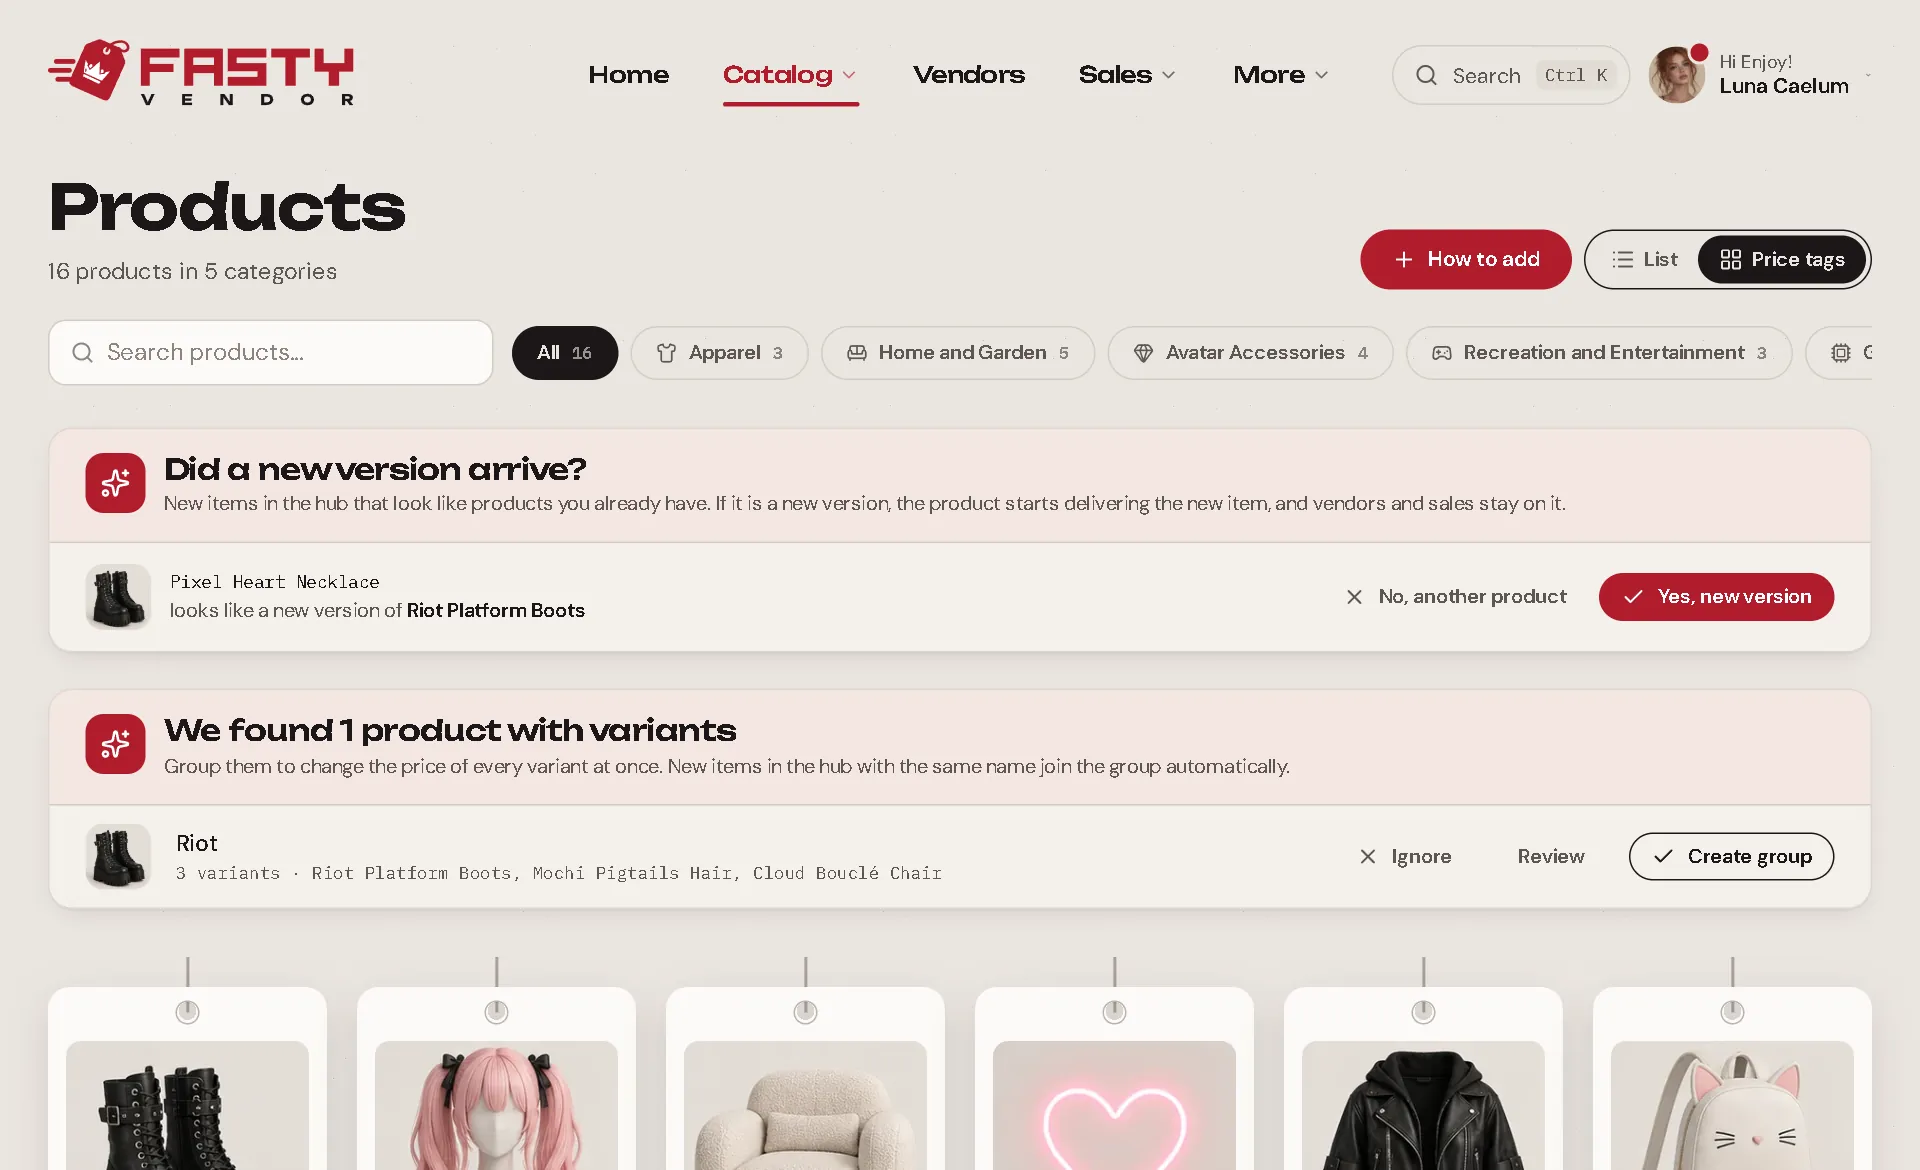
Open Catalog → Products. Every item from the hub is there. New products arrive without a price, and a product only goes on sale once it has one. Click a product to set its price (and, if you like, its name and category).
Colours and fatpacks
Selling the same thing in several colours? Fasty notices and offers to put them in a variation group, so you can price all of them at once. See Variation Groups.
Step 4: the vendor
The vendor is the board your customers pay. It does not hold any items: it only takes the payment and the hub delivers.
Rez your vendor board (any object you like) and drop the
Fasty Vendorscript into its root prim.Allow the debit permission. The vendor asks right away. Click Allow. If you closed the window by mistake, touch the vendor and it asks again.
Pick what it sells. In the panel, open Vendors, click the new vendor, choose the product under Product for sale and press Save. The vendor updates in about a second.
While it sets itself up, the vendor shows its progress above it in floating text. When it is ready to sell, the text disappears:
| Floating text | What it means |
|---|---|
Owner: touch me to finish the setup | It is waiting for the debit permission. Touch it and click Allow. |
Connecting to your store… | It is pairing with your store. This takes a few seconds. |
Owner: pick a product in your Fasty panel | It is connected. Choose its product in Vendors. |
| (no text) | Ready. Customers can right-click → Pay. |
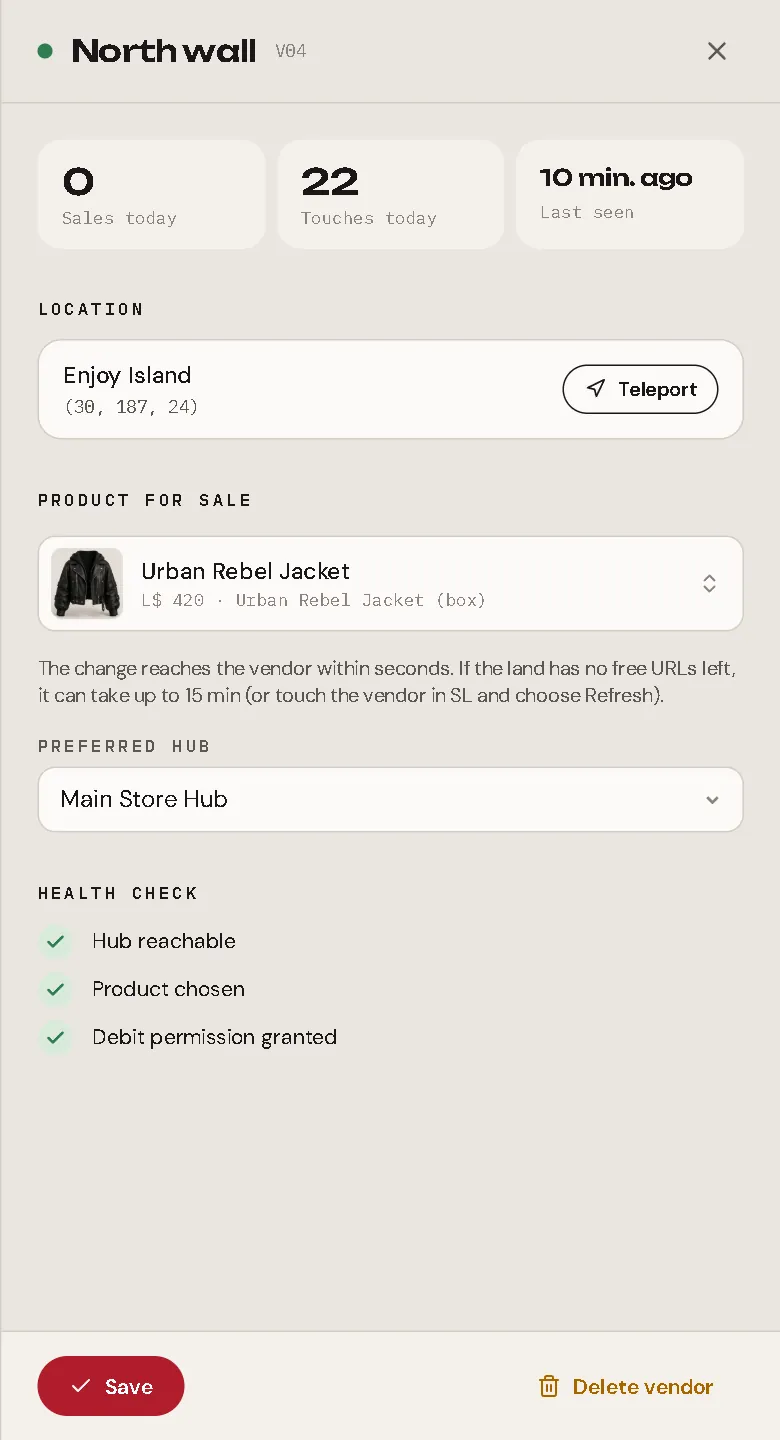
Why the debit permission?
Your vendors use it to pay your partners their share of each sale (see Profit Sharing), to give the money back when a purchase can't go through, and to carry out the L$ you send from the panel. A vendor never decides to spend on its own. Without the permission it does not sell. More in Setting Up a Vendor.
Shortcut: name the vendor after the product
Name the vendor object like the product (for example Minotaur Horn - Black VENDOR) and Fasty picks the product for you. The vendor starts selling with no clicks in the panel. See Setting Up a Vendor.
Step 5: your first sale
Buy from your vendor, or ask a friend: right-click → Pay. The vendor only accepts the exact price.
Check your inventory. The item arrives in a couple of seconds, together with a receipt link in chat.
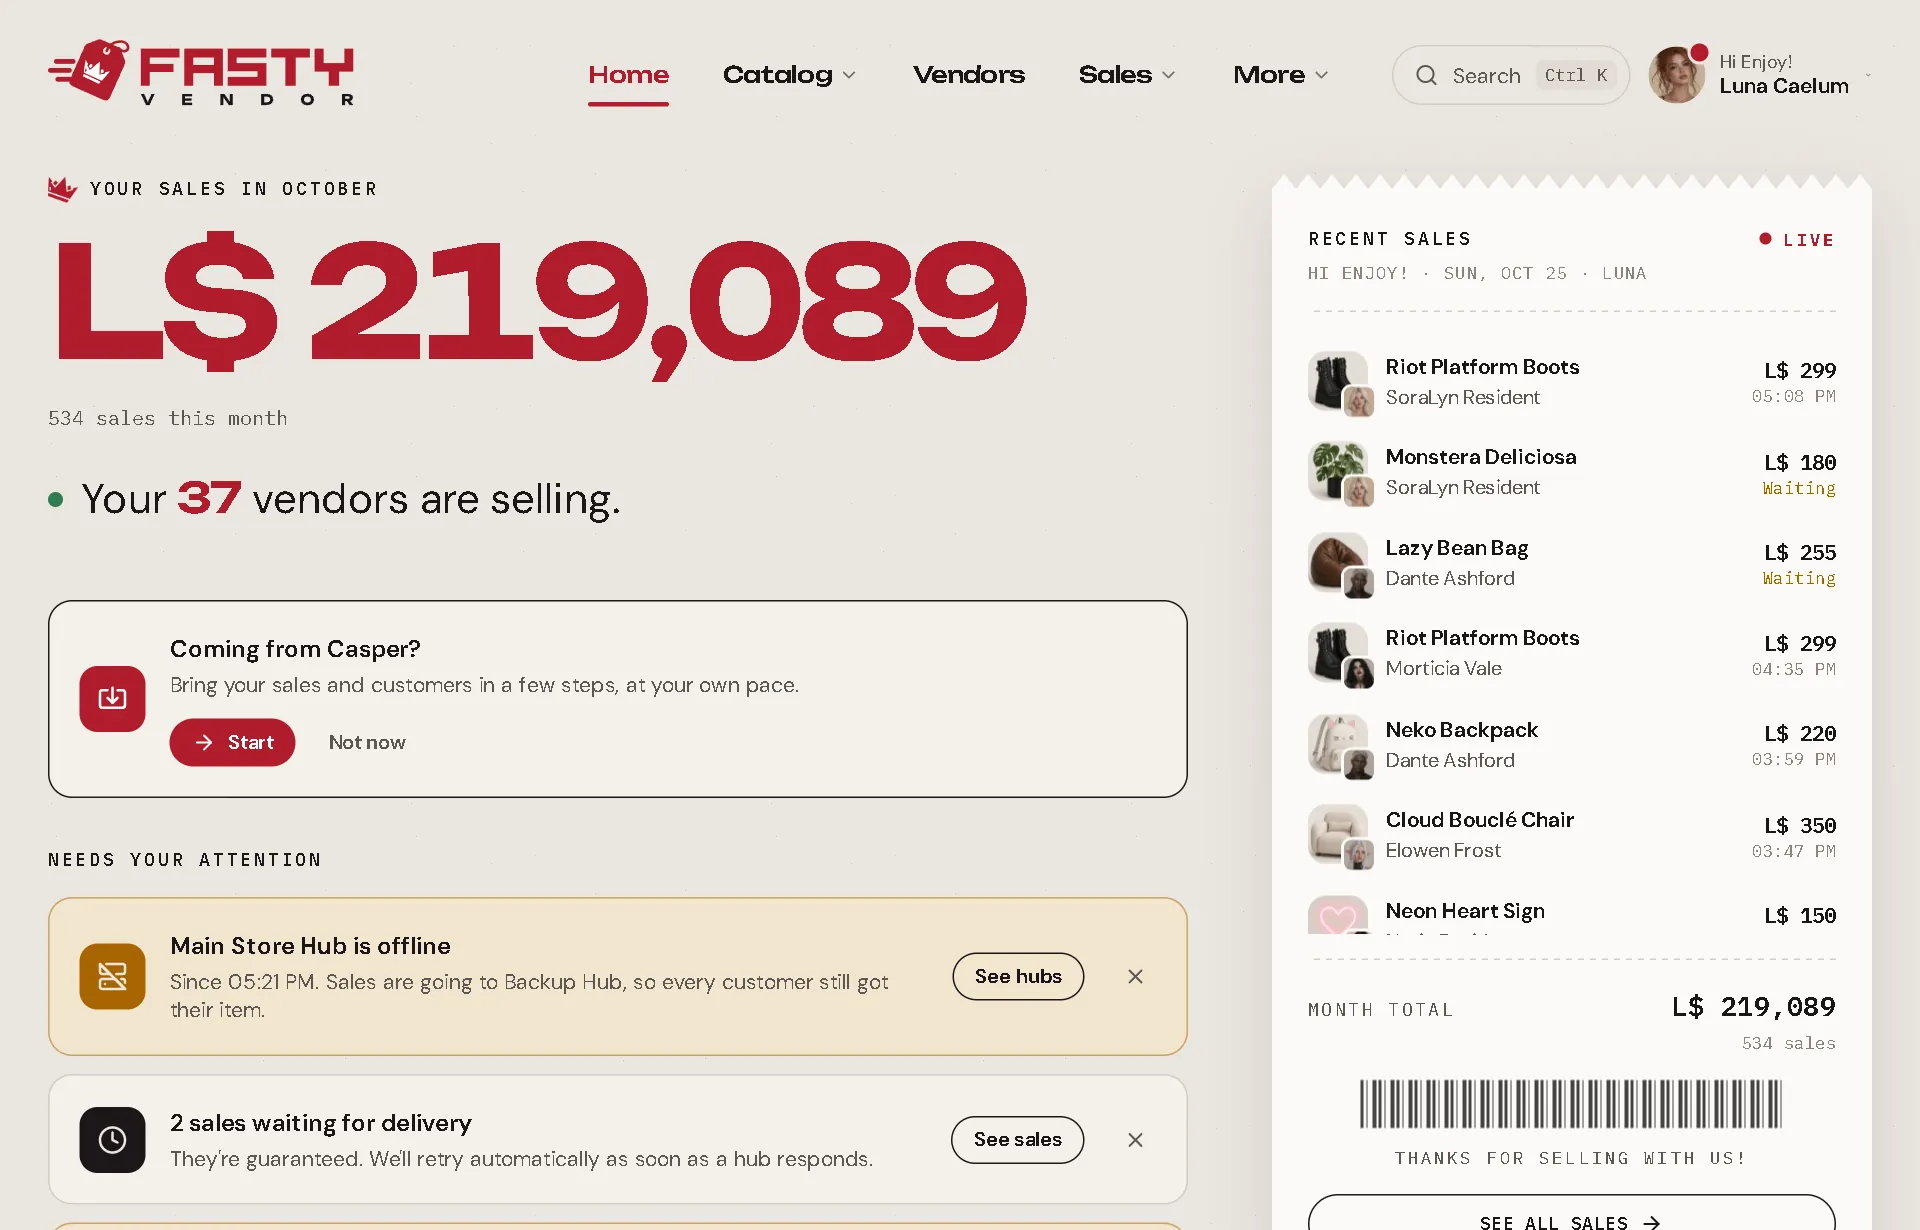
Look at the panel. The sale appears on Home and in Sales at the same moment.
There is no test mode: a test purchase is a real payment. Use a cheap product, or set a test product to L$1 while you try things out.
What next?
Add a backup hub A second hub in another region keeps you selling when one region goes down.
Variation Groups Eight colours and a fatpack? Change all their prices at once.
Redelivery terminal Let customers get their purchases again on their own.
A tour of the panel What every screen is for.