Creating a Target
Rez the object on the ground. Targets are configured on the ground, like HUDs. (After setup they work while worn.)
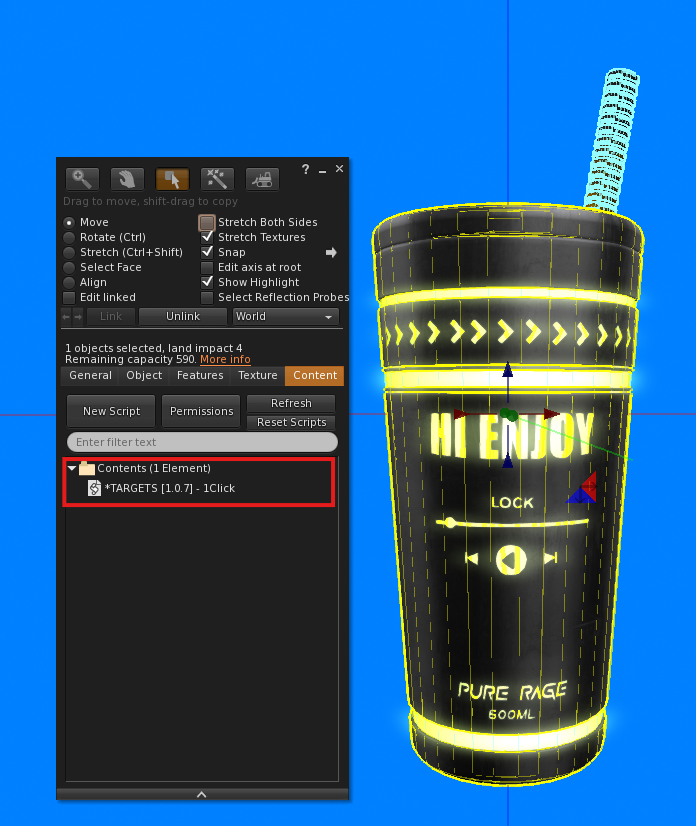
Open its Content tab and drag
*TARGETSfrom the 1Click Maker folder into it.A menu appears for you (only the owner sees it):
The TARGETS configuration menu appears once, right after the script is added. Choose NEW. The script generates a new private channel and the object is now a target.
Go to the panel, open Targets and click Search for targets to list it.
The menu options
| Option | What it does |
|---|---|
| NEW | Creates a brand-new target with its own channel, independent from any other object. Use it for the first copy of a product. |
| SYNC | Makes this object listen on the same channel as another target nearby, so both react to the same HUD commands. See Synchronizing Targets. |
| IGNORE | Closes the menu and keeps whatever configuration the object already had. Use it if the menu opened by mistake. |
Do I need anything else in the target?
Only for some actions:
- PBR actions need
[add-on] - PBR Managerinside the target. - Resizer needs
[add-on] - Resizer - 1Clickinside the target. - Animesh animations, sounds, events on the target need the target to have its own project (
*BUILD+*FUNCTIONS), controlled through commands.
Customers and copies
The channel is stored in the object's description (encoded). When a customer receives your shirt, the description travels with it, so their copy keeps listening to their copy of your HUD. Do not clear or edit the description of a target.
Modify permissions
If your product is no-modify for customers, that is fine: *TARGETS does not need to change anything after setup. If it is modify, tell customers not to edit the object's description.
Reconfiguring a target
Delete *TARGETS from the object and drop it in again: the menu comes back. Choose NEW for a fresh channel (you will need to re-scan and re-assign actions in the panel, or use Bulk Edit), or SYNC to align it with another object.