UI Mode Quickstart
Before you start
- Start a project as in the Quickstart: the HUD on the ground with
*BUILDand*FUNCTIONS. - Also drop
[add-on] - UI Buttons - 1Clickinto the HUD. - Apply your HUD design as a texture on the face(s) of the cube in Second Life. The editor uses those textures as the canvas background.
Steps
Switch to UI. Click UI below the memory bar in the left column.
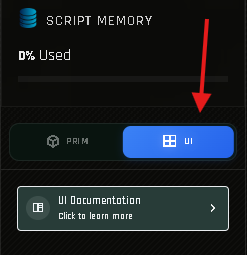
The mode switch. Confirm that you want to start a UI project. The first time, a short tutorial explains the three steps (draw, position, actions). Click I understand, start now.
The panel scans the HUD's textures and shows the canvas. At the bottom, pick the face you want to edit (Face 0–5, each with a thumbnail of its texture). If a face looks outdated, click Reload preview to scan again.
Draw a button. Click inside the canvas and drag. A rectangle appears. Adjust its size and position over the area of your design that should be clickable.
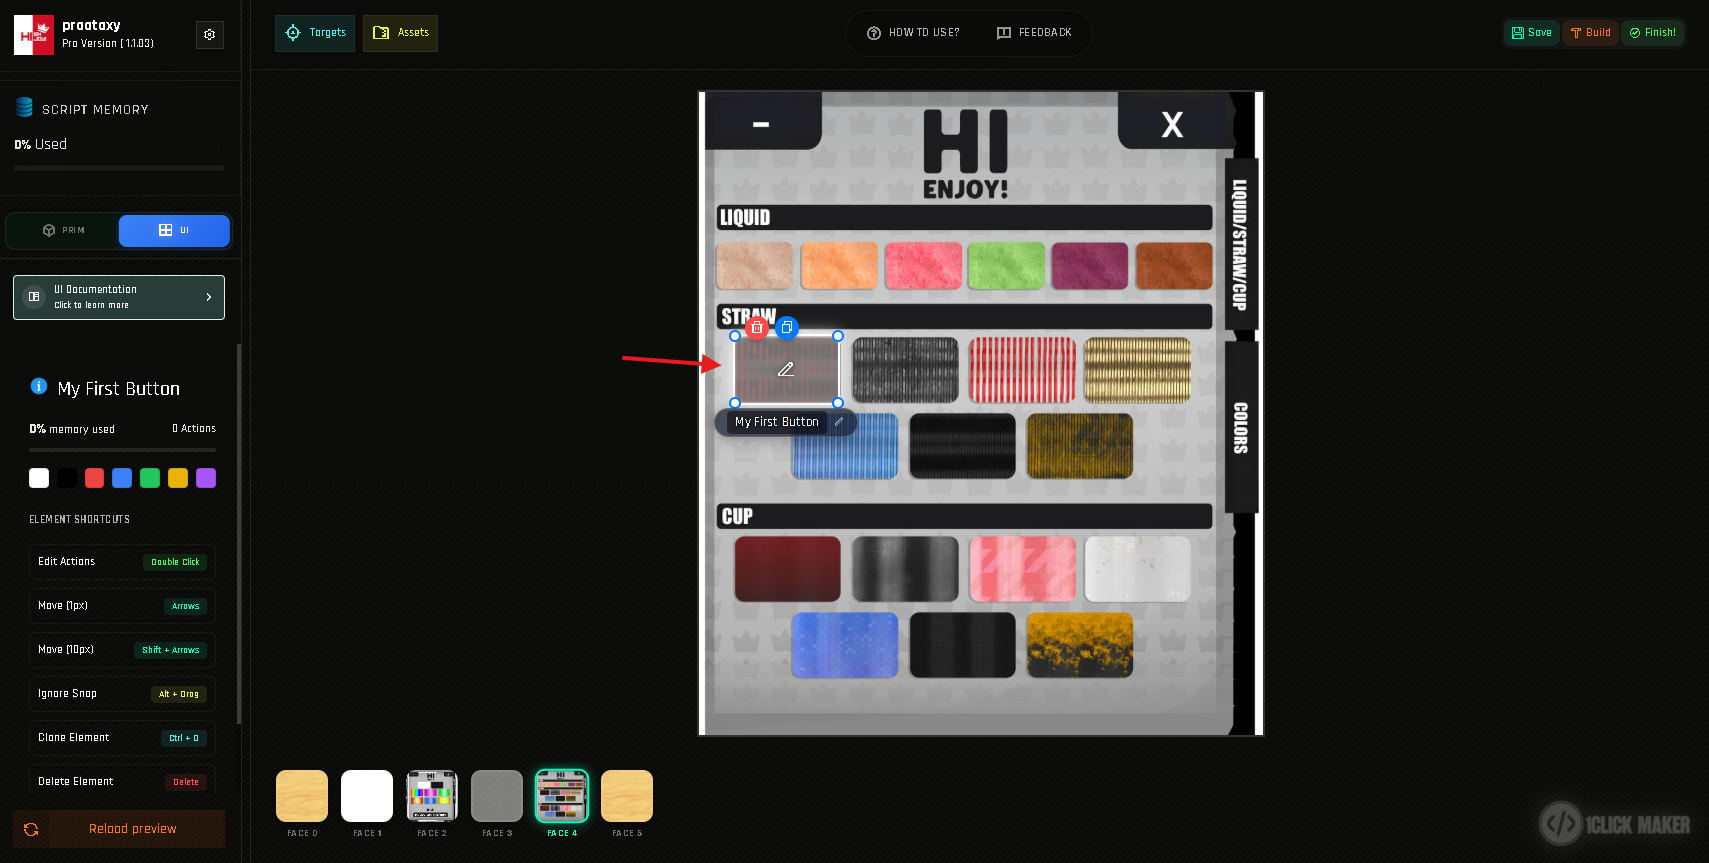
The first drawn button on the HUD texture. Open its actions. Double-click the rectangle. The familiar action editor opens; add actions exactly as in Prim Mode (Creating an Action).
Save and Build. Click the drawn area in-world to test.
Next
- Adjustments: move, resize, rename, color, align.
- Tips and Warnings: shortcuts and limits.
- Cloning Functions: Ctrl+D duplicates a configured button.